7 Camping Gear Repairs Worth Doing Before You Store It for Winter
Quick Answer: Seven end-of-season jobs prevent almost every spring gear failure: dry and air the tent completely, patch fabric and mesh while you can still see the holes, re-seal or re-proof waterproof coatings, clean and lubricate zips, replace bent pegs and check pole shockcord, wash and loosely store sleeping bags rather than compressing them, and empty and clean anything that held fuel, food, or water. Do all seven in one afternoon now, while the damage is fresh in your memory and the weather still allows outdoor drying.
Every spring, somebody unpacks a tent that smells like a pond and discovers the flysheet coating has gone sticky. It happened in October, in a bag, in the dark.

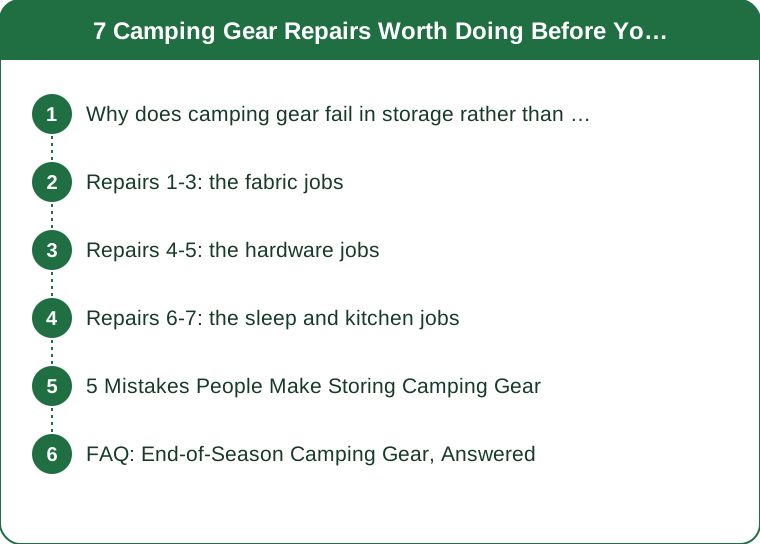
Why does camping gear fail in storage rather than in use?
Damp is the primary destroyer. A tent packed even slightly wet develops mould and mildew over months, and on coated fabrics the coating can hydrolyse - break down chemically - leaving a sticky, flaking surface that isn’t repairable.
Compression damages insulation permanently. Down and synthetic fill both rely on loft. Months in a stuff sack crushes that loft, and synthetic fill in particular doesn’t fully recover, which quietly reduces the bag’s warmth rating.
Small damage gets forgotten. The pinhole you noticed on the last night is invisible in April. Repairing while you remember where it is takes minutes; finding it later takes an hour and a spray bottle.
Grit destroys zips slowly. Sand and dirt in the teeth grinds the slider over time, and a zip that’s stiff in October is a zip that fails in June - usually on the door, in the rain.
And residues attract problems. Food traces, fuel residue, and stagnant water in a hydration bladder all get considerably worse over a winter in a garage than they would over a weekend.
Storage location matters as much as preparation. A cold, dry, ventilated space is fine. A damp shed, a hot loft, or a sealed plastic box in an unheated garage are the three places gear most reliably deteriorates.
Repairs 1-3: the fabric jobs
Repair 1: Dry everything completely, then dry it again
Pitch the tent in the garden or hang it over a line on a dry day and leave it for hours, not minutes. Pay particular attention to the groundsheet seams, the corners, and the guy-line points, which hold moisture long after the main panels feel dry. If you can’t pitch it, drape it over furniture indoors. This single job prevents more gear loss than the other six combined.
Repair 2: Patch fabric and mesh while you can still find the damage
Self-adhesive repair patches designed for tent fabric handle pinholes and small tears in seconds, and mesh-specific patches deal with the insect-net holes that otherwise ruin next summer. Clean the area first so the patch actually bonds, and apply to both sides for anything larger than a few millimetres. Do this on a dry, warm afternoon - adhesives bond poorly in the cold.
Repair 3: Re-seal seams and re-proof coatings that have gone
If water was getting through seams or the flysheet stopped beading, this is the moment. Seam sealer applied to the inside of the taped seams, and a wash-in or spray-on proofer for fabric that’s wetting out. Both need dry conditions and drying time, which is exactly what you have now and won’t have in March.
Repairs 4-5: the hardware jobs
Repair 4: Clean and lubricate every zip
Brush grit out of the teeth with an old toothbrush, rinse with clean water if they’re genuinely dirty, dry fully, then run a zip lubricant along the teeth and work the slider back and forth. A stiff zip almost always cleans up; a stripped one usually needs a new slider, which is a cheap part and a ten-minute job with pliers. Do the tent doors, the sleeping bag, the pack, and the stuff sacks.
Repair 5: Replace bent pegs and check pole shockcord
Bent pegs never straighten properly and they’re the cheapest item in your kit - bin them and replace. Then run the poles out fully and look at the elastic shockcord inside. If the sections no longer snap together and the poles feel floppy, the cord has stretched. Replacing it is a straightforward job with new cord and about twenty minutes, and it’s far better done at a table now than in the wind on a campsite. Check pole ends for splits while you’re there; a split ferrule can be sleeved with a repair tube.

Repairs 6-7: the sleep and kitchen jobs
Repair 6: Wash and store sleeping bags uncompressed
Most sleeping bags can be washed - follow the label, use a specialist wash for down, and dry thoroughly, which for down means a long low-heat tumble with dryer balls to break up clumps. Then store the bag loose: a large cotton or mesh storage sack, hung in a wardrobe, or laid flat under a bed. Never in the compression sack. The compression sack is for carrying, not for keeping.
Repair 7: Empty, clean, and dry everything that held food, fuel, or water
Hydration bladders need cleaning and then storing open or in the freezer to prevent mould. Stoves need fuel removed and jets checked. Cool boxes need washing and storing with the lid propped open. Pots need a proper scrub rather than a rinse. And anything with a rubber seal - flasks, containers, bottle lids - should be stored with the seal loosened or removed, because seals compressed for six months take a set and stop sealing.
5 Mistakes People Make Storing Camping Gear
Mistake 1: packing away damp because the forecast was bad. Waiting three days for a dry afternoon costs nothing. Packing damp costs the tent.
Mistake 2: sealed plastic boxes in an unheated space. Airtight containers trap any residual moisture and cycle it through temperature swings. Ventilated storage in a dry indoor space is much better than sealed storage in a garage.
Mistake 3: storing sleeping bags in their stuff sacks. It’s the most common single error, it silently reduces the bag’s warmth, and with synthetic fill the loss is largely permanent.
Mistake 4: leaving the repairs for spring. You’ll have forgotten where the hole was, adhesives bond badly in cold weather, and you’ll discover the problem the night before a trip.
Mistake 5: skipping the loft check. Storing gear in a loft seems sensible until you account for summer heat and winter condensation. Both are hard on coatings, elastics, and adhesives.
FAQ: End-of-Season Camping Gear, Answered
How should I store a tent over winter?
Completely dry, loosely packed rather than tightly compressed, in a cool dry ventilated indoor space. Avoid damp sheds, hot lofts, and sealed plastic boxes, all of which accelerate coating breakdown and mildew.
Can I store a sleeping bag in its stuff sack?
No. Long-term compression crushes the loft that provides the warmth, and synthetic fill doesn’t fully recover. Store it loose in a large storage sack, hung up, or laid flat.
Is it worth washing a sleeping bag?
Yes, if it’s been used several times. Body oils reduce down’s ability to loft, so a wash following the label instructions - specialist down wash where relevant - restores warmth as well as freshness.
What if I’ve already packed everything away damp?
Unpack it now rather than in spring. If mildew has started, the sooner it’s cleaned and dried the better the outcome, and a coating that’s begun to break down is worth identifying while you still have time to plan a replacement.
TL;DR:
- Dry everything completely before storage - damp is the single biggest cause of gear loss over winter.
- Patch fabric and mesh now, while you still remember where the holes are and adhesives will bond.
- Re-seal seams and re-proof coatings while you have dry weather and drying time available.
- Clean and lubricate zips, replace bent pegs, and check pole shockcord at a table rather than on a windy campsite.
- Store sleeping bags loose rather than compressed, and clean anything that held food, fuel, or water.
Seven jobs, one afternoon. It’s the difference between unpacking in April and shopping in April.
Keep Reading
This article is for general informational and styling purposes only. Fit, sizing, and product availability may vary.